
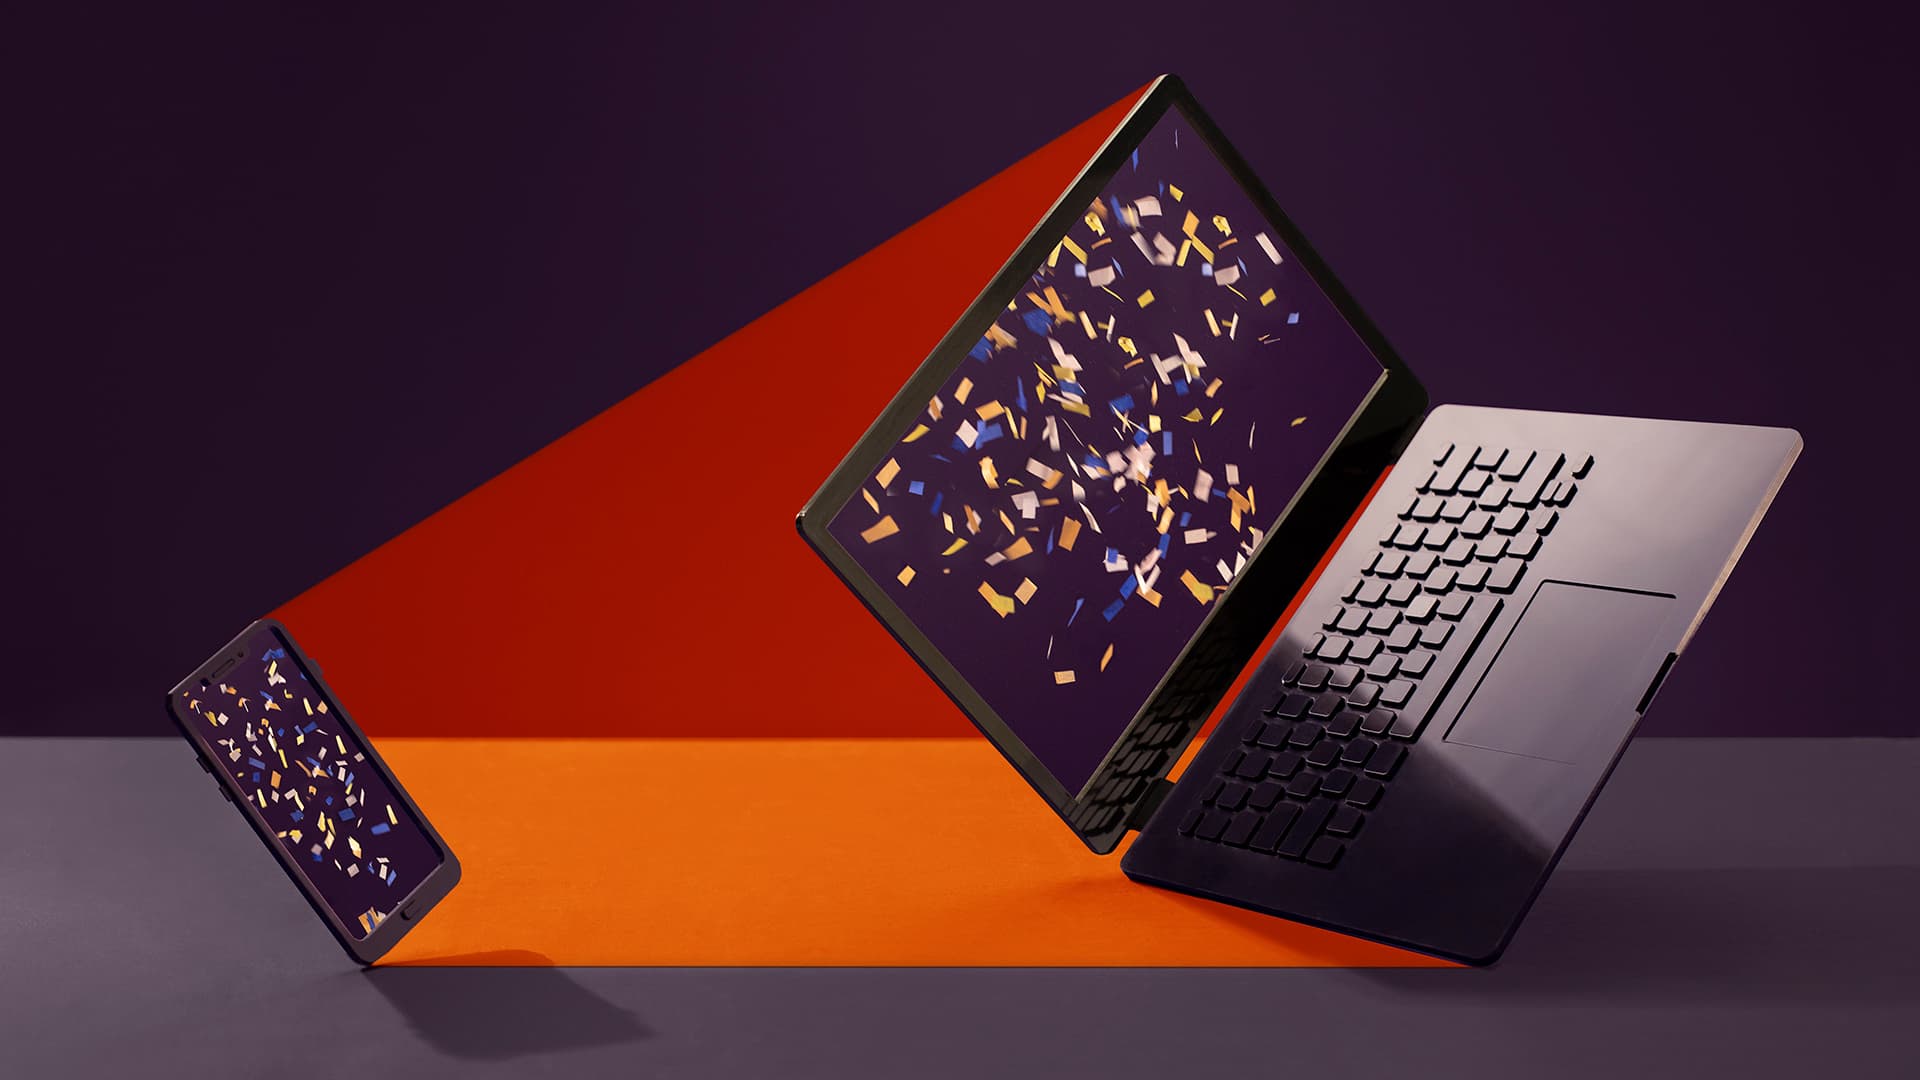
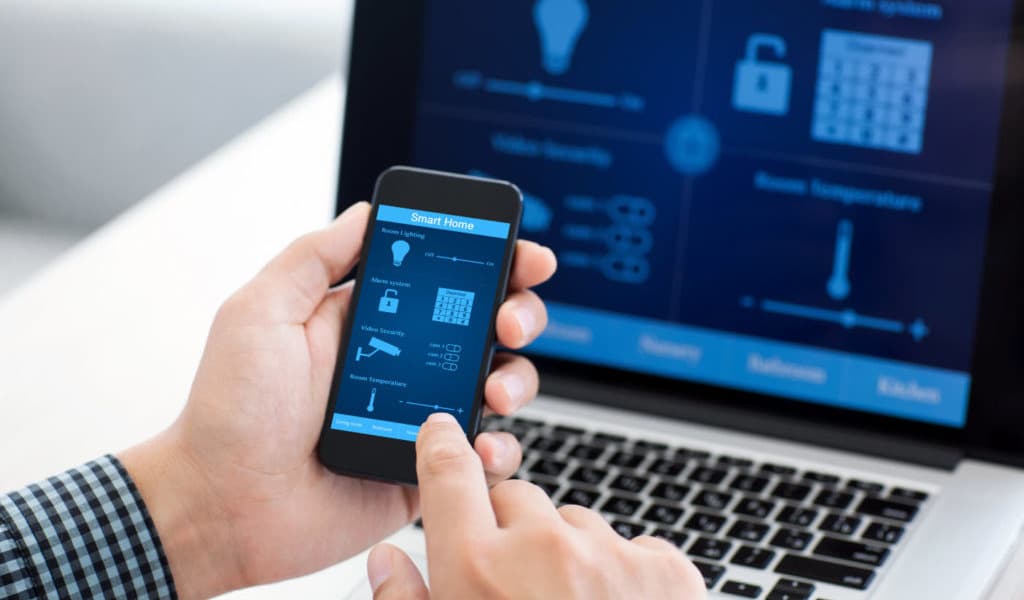
Remote access tools
for all your android devices
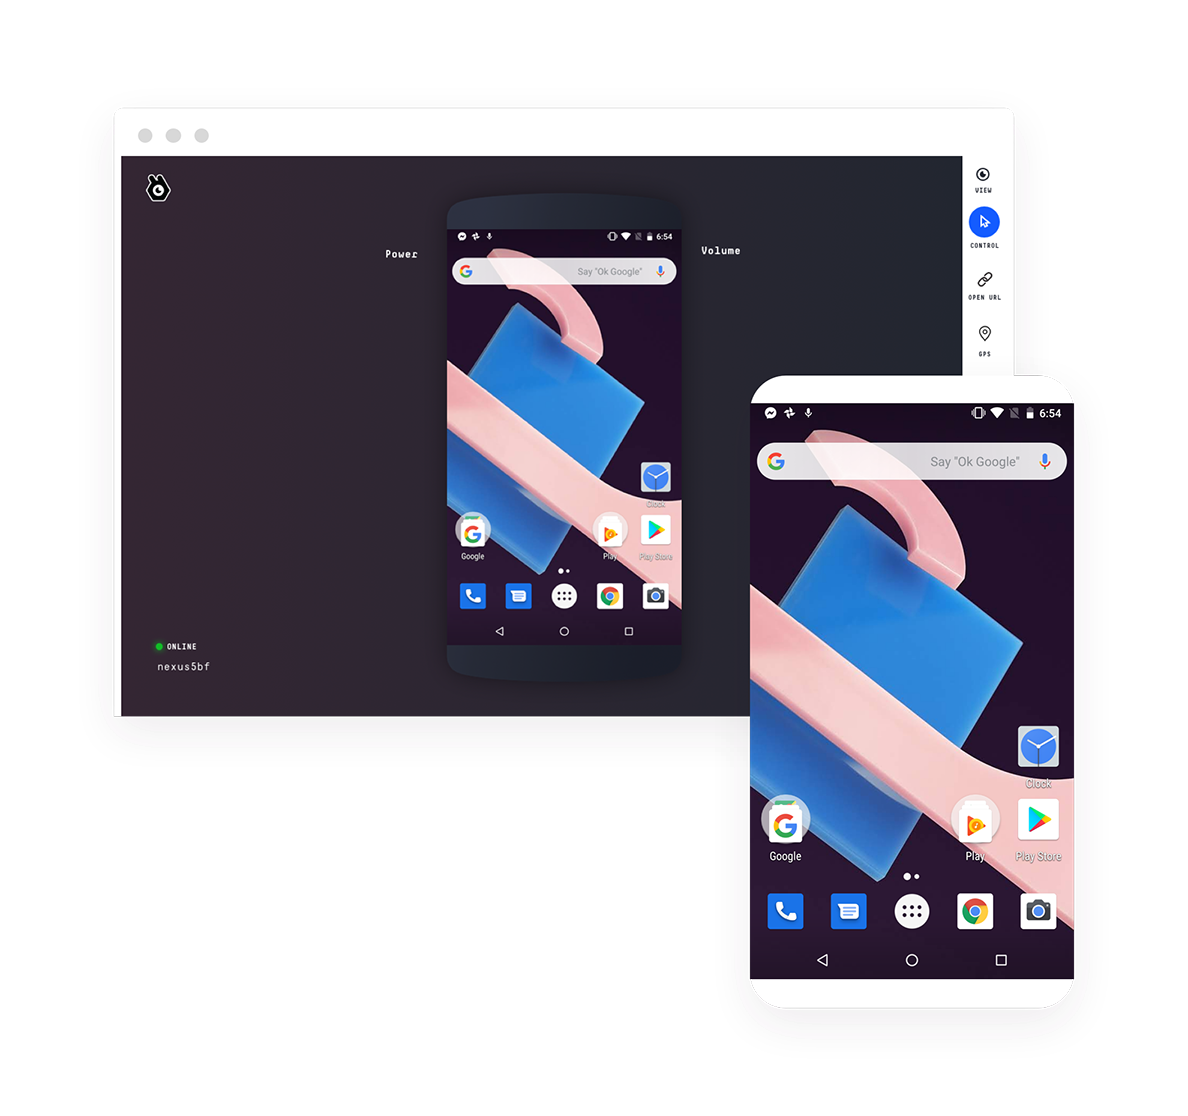
Screen mirroring
Get real time screen stream of your Android
devices on your computer
Full remote control for multiple devices
Control your Android device as it would be in your hands, including all touch and key events through your web browser (root access required)

Runs from the browser
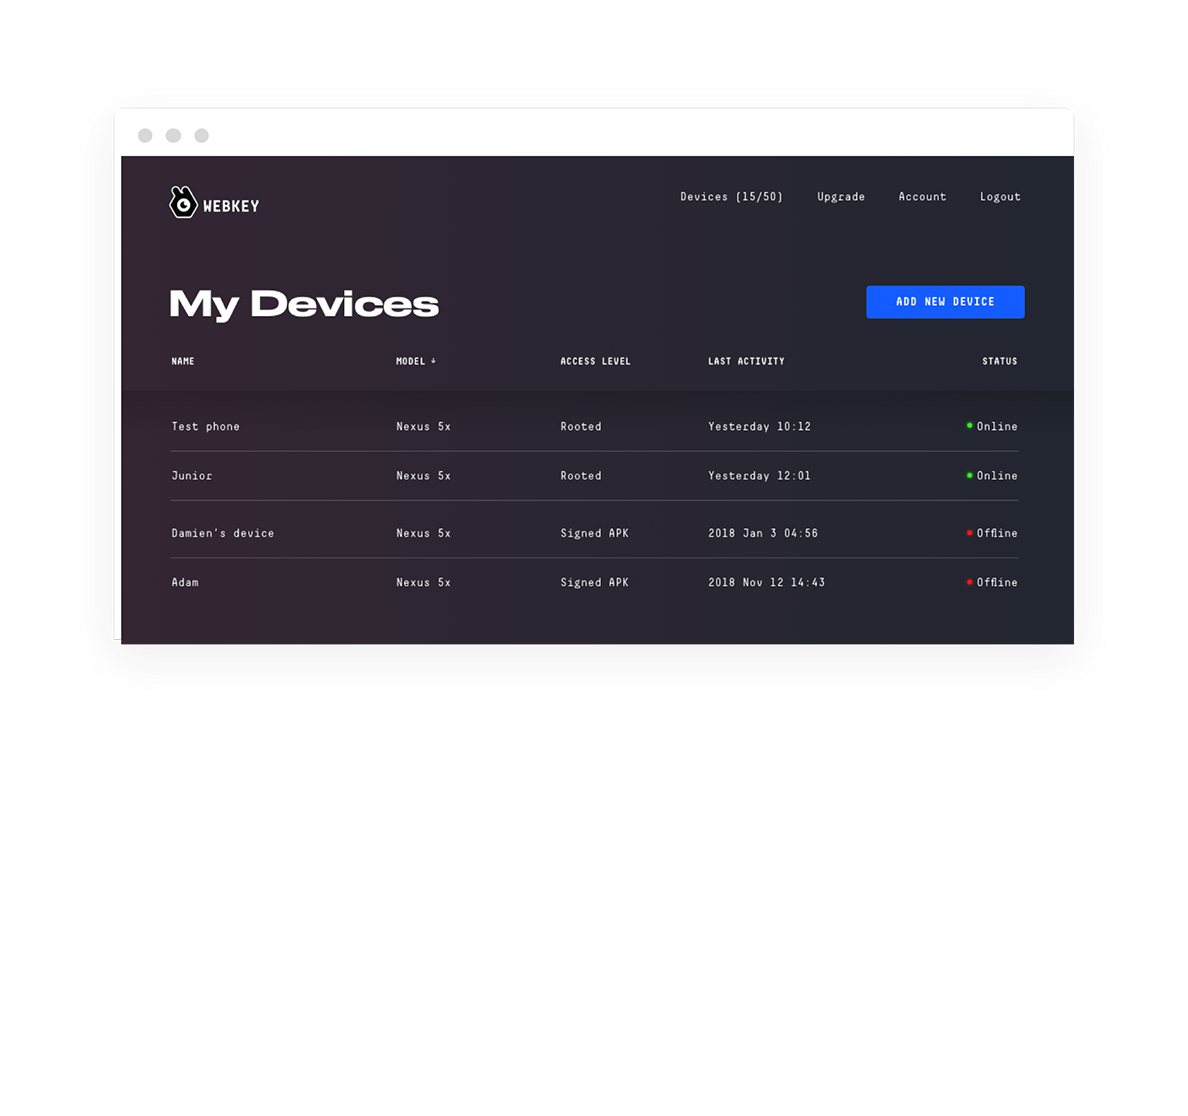
Manage your devices centrally from the web Dashboard

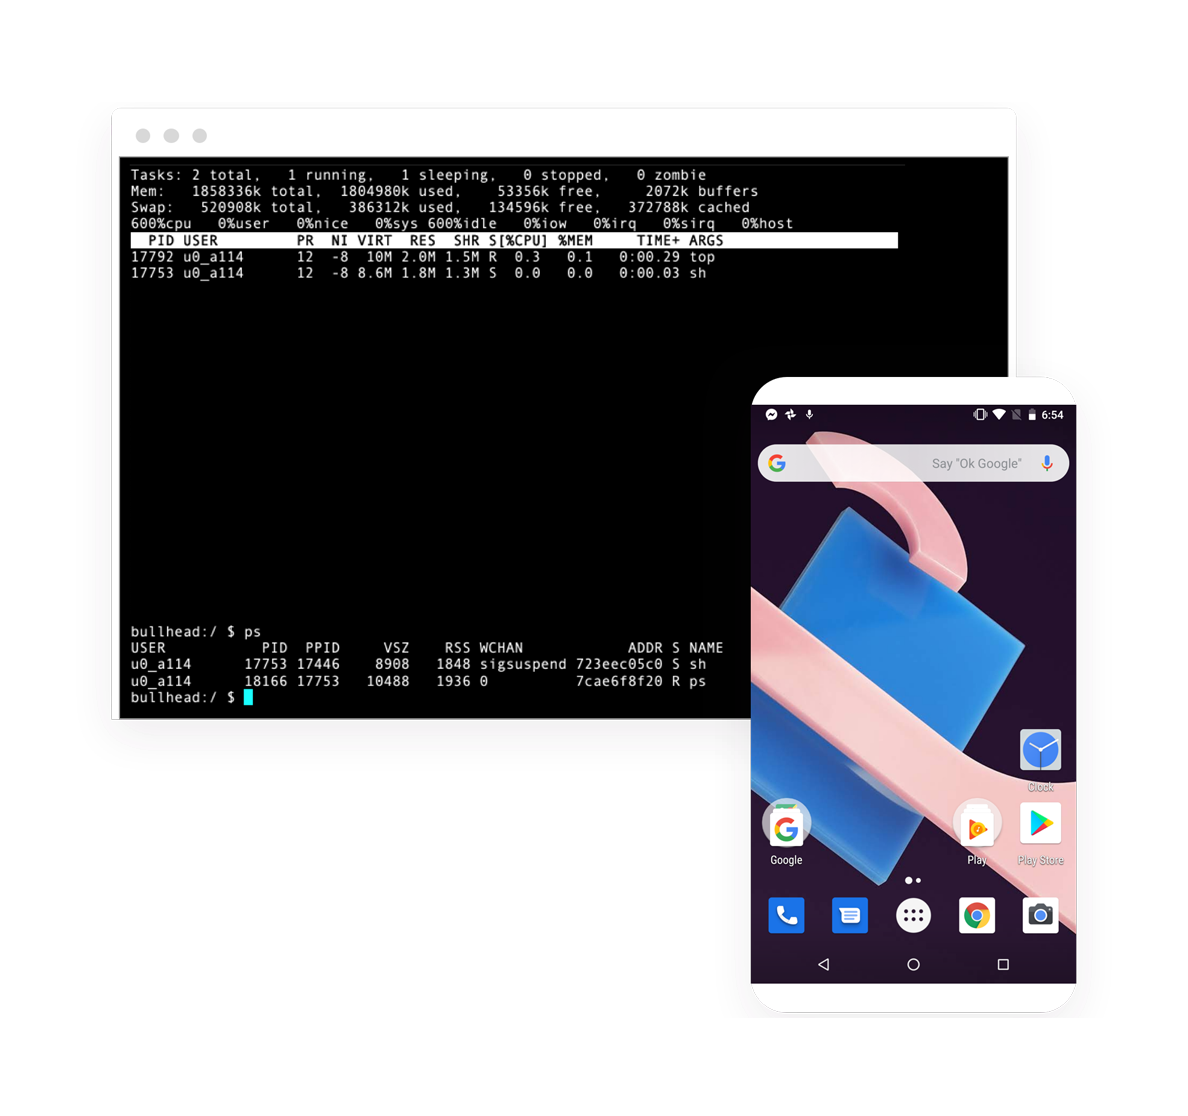
Linux terminal access
Run terminal commands and write shell scripts on your device

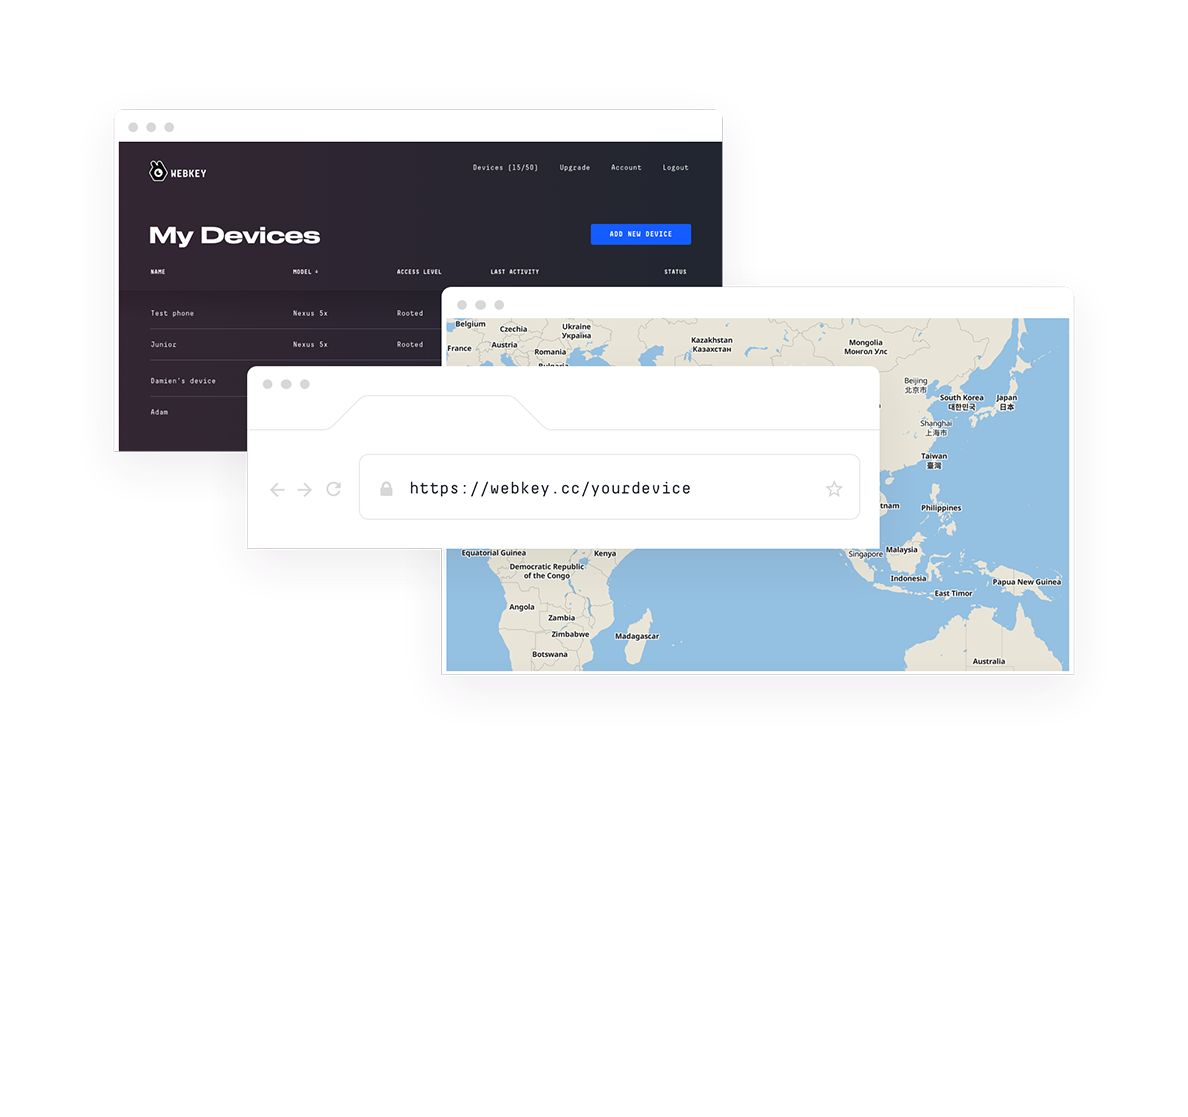
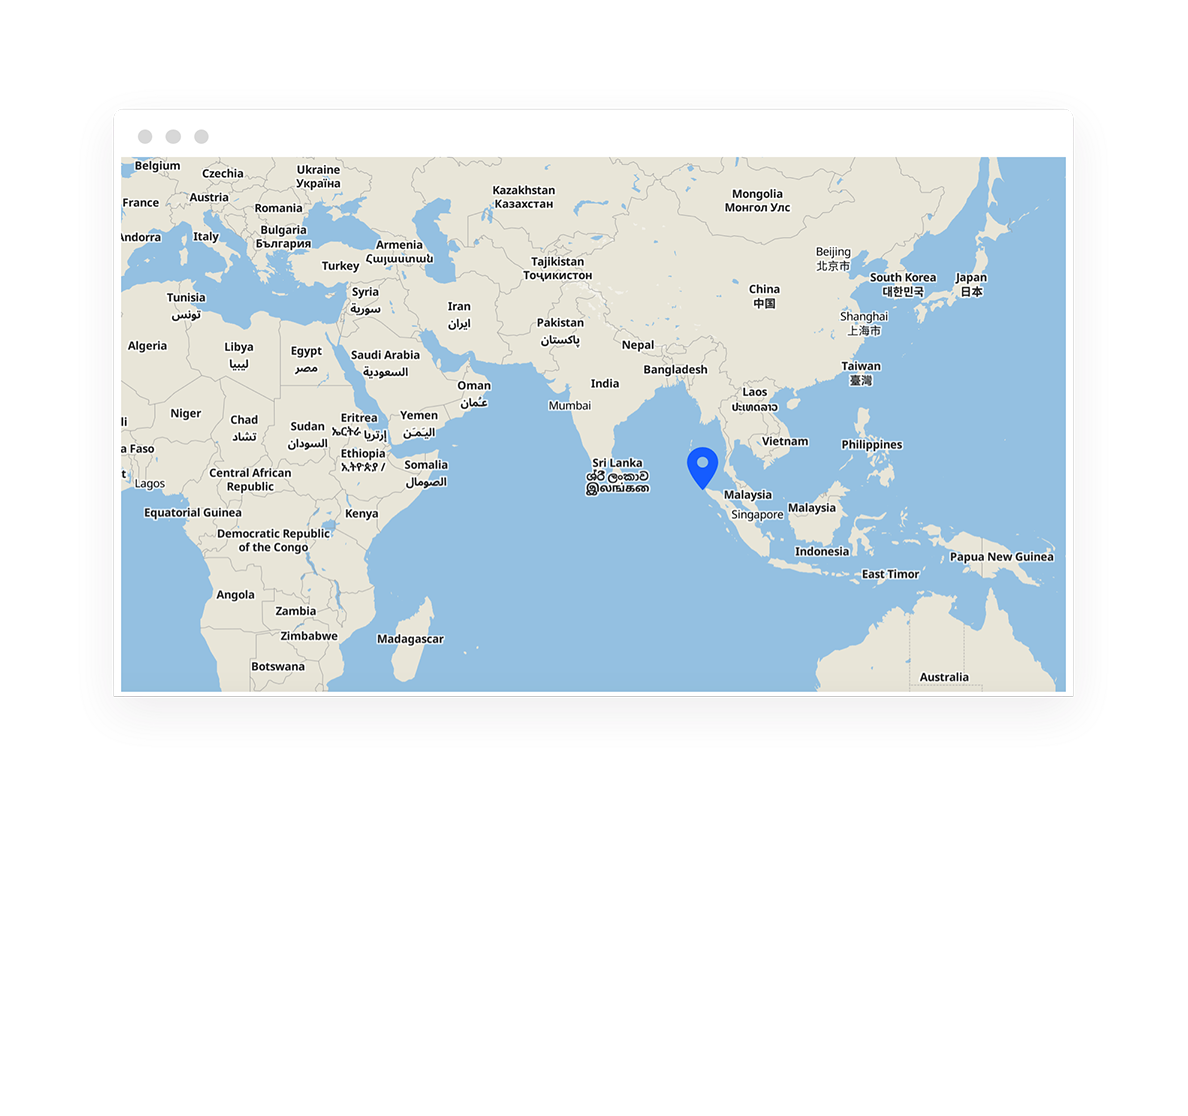
GPS Tracking
Check the location of your devices and follow them on a map with GPS tracking

Remote access
tools
スクリーンミラーリング

ご自分のコンピューターにAndroidのスクリーンストリームをリアルタイムでミラーリング
스크린 미러링
컴퓨터에서 안드로이드 단말기의 실시간 화면 스트리밍을 수신하세요
Удаленный просмотр в режиме реального времени
Настройте трансляцию экранов Ваших Андроидных устройств
в режиме реального времени на мониторе Вашего компьютера
Pencerminan layar
Dapatkan pengaliran layar seketika
dari perangkat Android Anda ke komputer Anda
Real-time remote view
Get real time screen stream of your Android devices on your computer
Are you ready
to take control?
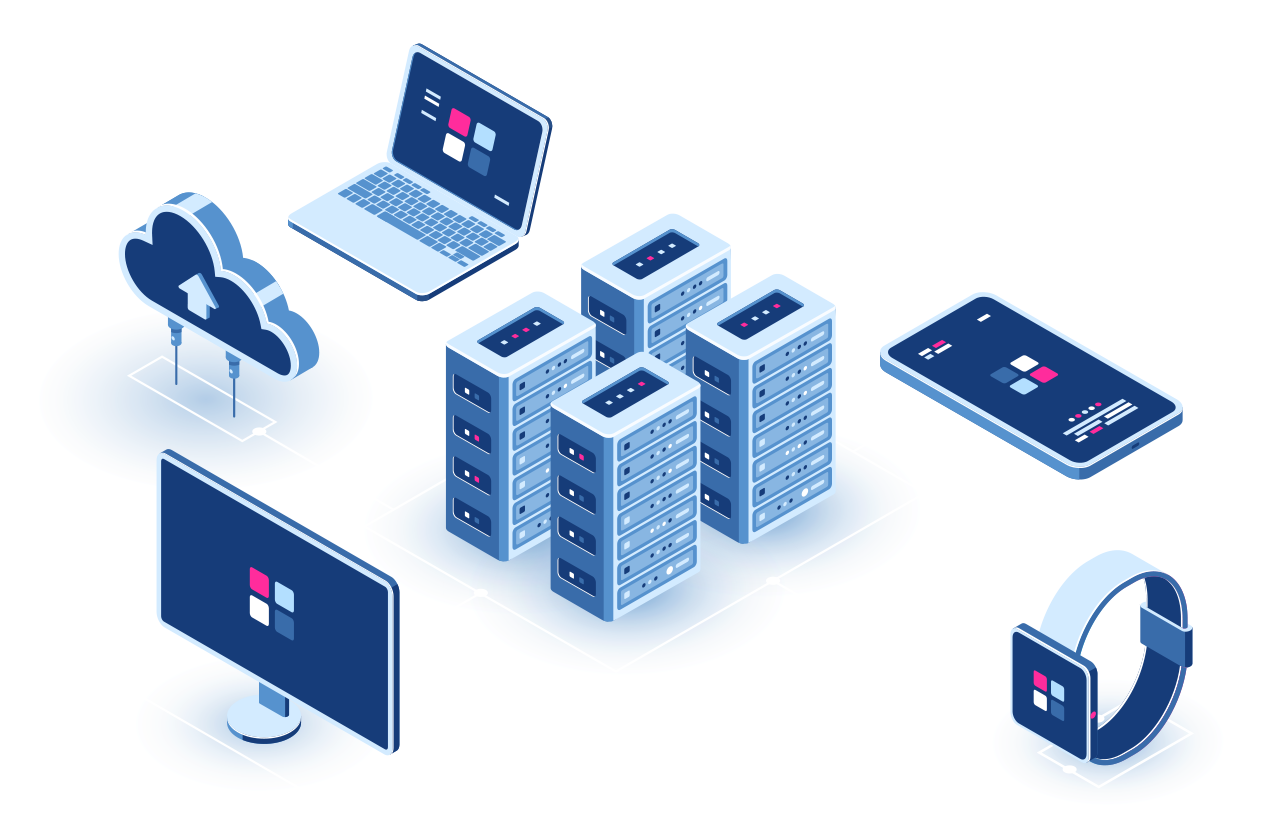
Server based Solutions
Our highly customizable server based solutions offer your business an additional layer of security to control your Android devices. Our flexible plans range from fully managed servers with dedicated priority support to one time licence/set-up fee models. Unlimited devices are part of all plans, but we are happy to tailor Webkey to best cover your needs.
Webkey for Business
Webkey is a flexible and easy-to-integrate solution with different business editions and price plans for all the different business purposes. Most frequently used for managing POS systems, in-store retail devices, digital warehousing, digital signage platforms, digital kiosks and controlling educational content, we would be happy to hear from your business and find ways to help you succeed.
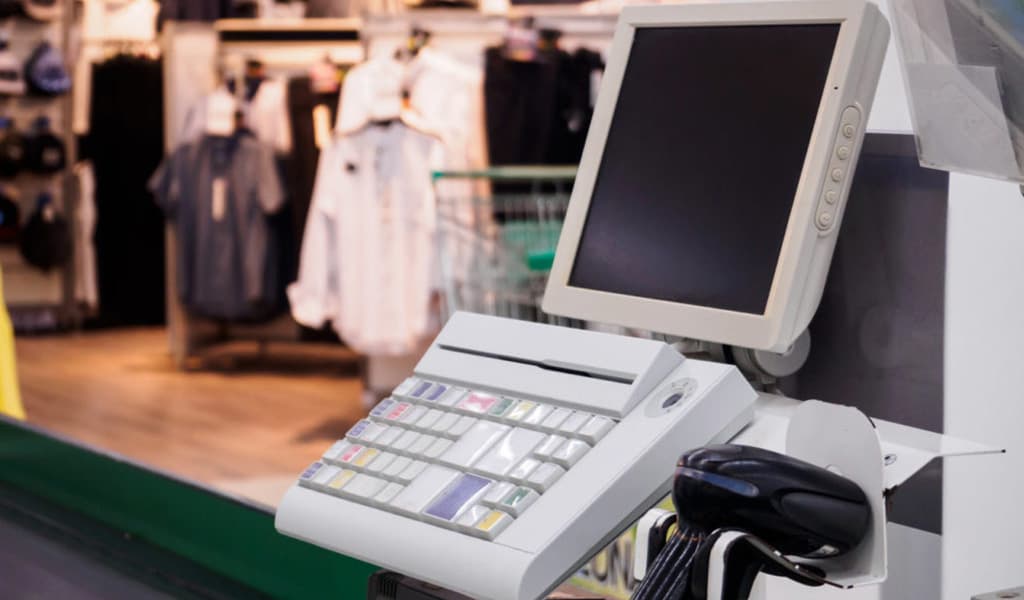
POS and In-store Retail devices
Remote management of cashiers, terminals and digital scales

Digital warehousing
Maintaining barcode scanners, tablets, wearable devices
IT Management, Advertisement and Entertainment
Digital kiosks, set-top boxes, mobile device fleet management

Education
Managing educational content on classroom tablets
Webkey for Business
Webkey is a flexible and easy-to-integrate solution with different business editions and price plans for all the different business purposes. Most frequently used for managing POS systems, in-store retail devices, digital warehousing, digital signage platforms, digital kiosks and controlling educational content, we would be happy to hear from your business and find ways to help you succeed.
Server based Solutions
Our highly customizable server based solutions offer your business an additional layer of security to control your Android devices. Our flexible plans range from fully managed servers with dedicated priority support to one time licence/set-up fee models. Unlimited devices are part of all plans, but we are happy to tailor Webkey to best cover your needs.
Webkey for Digital signage
Security is
key for us, too
key for us, too
While using Webkey, all remote control sessions are encrypted between your browser and your device by SSL/TLS certificates.
Pairing devices always requires an access code (PIN) to avoid accidental or malicious pairings.
Do you have any questions about Webkey security?